Resources from healthline.com
Many people have tight hips, from people who spend several hours a day sitting to regular gym-goers and professional athletes. Some people are more prone to tightness in that area of their body, too. Tight hips may put you at increased risk for injury due to the increased demands on tissues that aren’t moving properly.
Read on to learn more about tight hips and what you can do to relax these muscles.
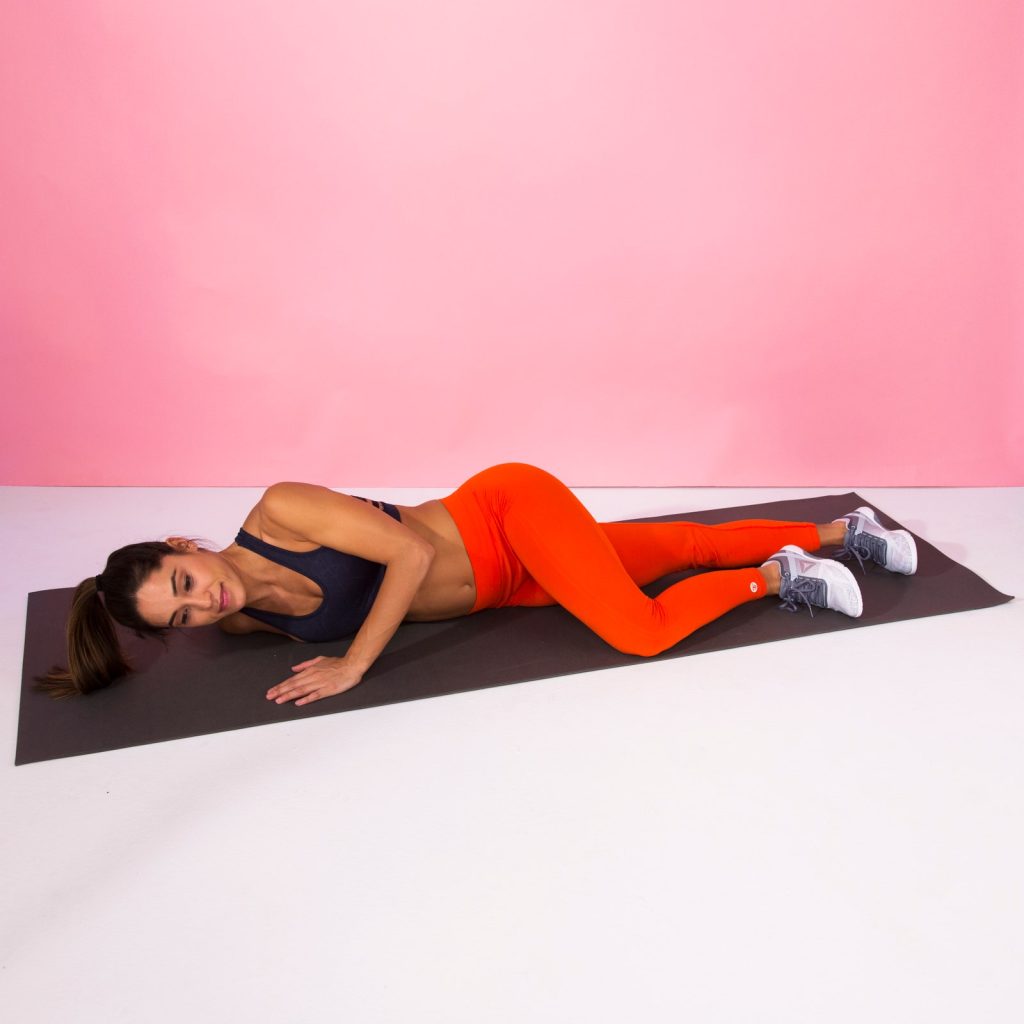
1. Foam roller stretch
You can use a foam roller to loosen up tight hips.
- Lie face down, with your foam roller beneath and slightly below your right hip.
- Place your left leg to the side with the knee bent at a 90-degree angle.
- Rest your forearms on the ground in front of you to take some of your body weight off of your hip. This will make the stretch less painful.
- Stretch your right leg straight out behind you, with your toes pointed backward and the front of your foot flat against the ground
- Slowly move backward and forward over the foam roller.
- For an extra stretch, add some side-to-side movement as you roll.
- Continue for up to 30 seconds. As you roll, identify any trigger points, or points that feel extra tight or painful. You can focus on those areas for about 10 seconds to relieve some of the tightness.
- Repeating with your left hip.
2. Kneeling hip flexor stretch

You can do this stretch daily to help loosen your hip flexor.
- Kneel on your right knee.
- Put your left foot on the floor with your left knee at a 90-degree angle
- Drive your hip forward. Maintaining a straight back, lean your torso forward.
- Hold the position for 30 seconds.
- Repeat 2 to 5 times with each leg, trying to increase your stretch each time.
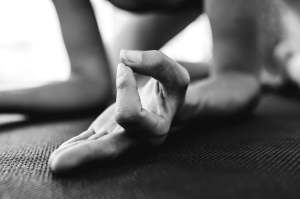
3. Pigeon stretch

This stretch is commonly seen in yoga practices. It can be used daily to improve mobility in your hip flexor.
- Begin on your hands and knees in a tabletop position.
- Bring your right knee forward and place it behind your right wrist.
- Place your right ankle in front of your left hip.
- Straighten your left leg behind you, making sure your left knee is straight and your toes are pointed.
- Keep your hips square.
- Gently lower yourself to the ground.
- Stay in this position for up to 10 seconds.
- Release the position by pushing on your hands, lifting your hips, and moving the legs back into your starting position on all fours.
- Repeat on the other side.
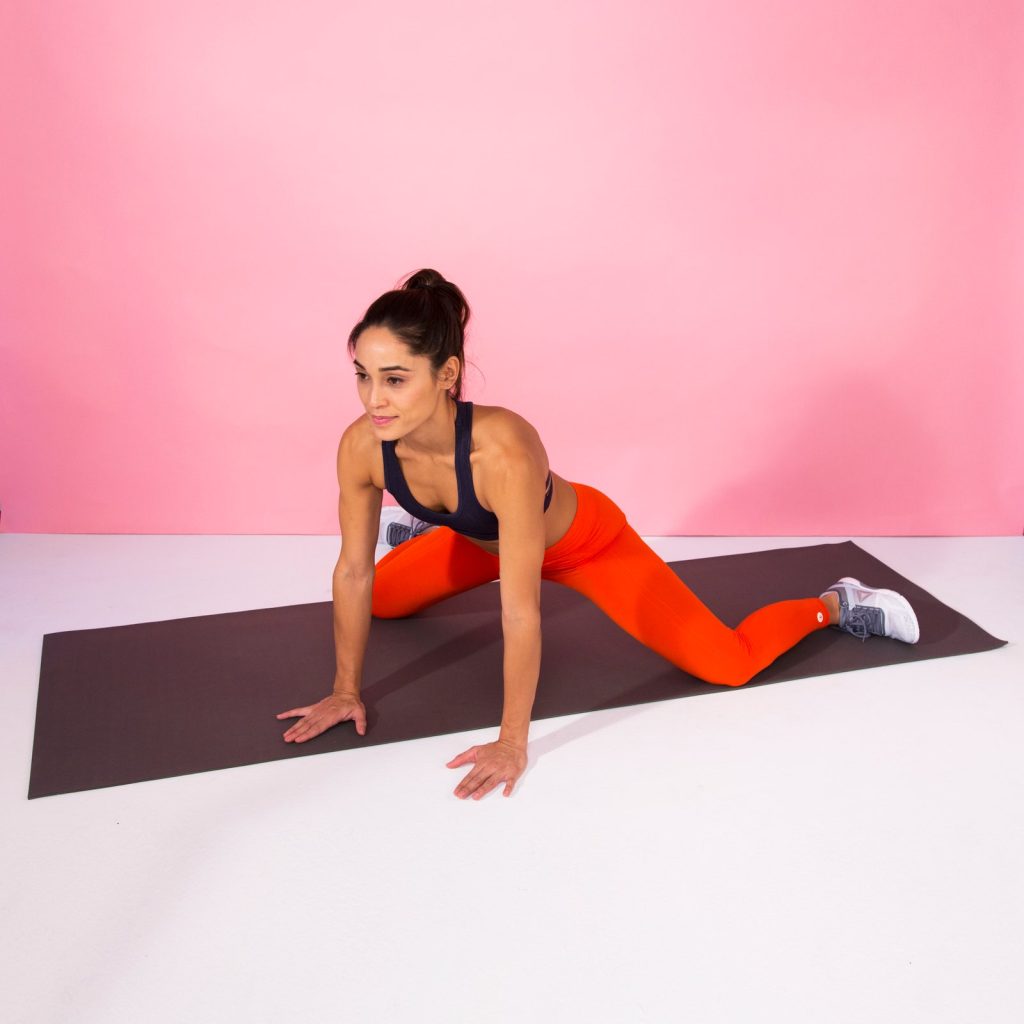
4. Spiderman stretch

The spiderman stretch can help warm up your body before a workout, or it can be used on its own or alongside other hip flexor stretches.
- Begin in the push-up position.
- Step forward with the left foot, bringing it to the outside of your left hand.
- Stretch the hips forward.
- Hold this position for two seconds, then return to start.
- Repeat five times to complete one rep.
- Repeat with the right leg.
- Perform three reps with each leg.
5. Butterfly stretch

This is a great stretch to practice after a workout or if you need a break from sitting in a chair.
- Sit on the floor with both legs straight out in front of you.
- Bring the soles of your feet together, and then move your heels as close to your body as you can.
- Lean forward with a straight back.
- Push on your thighs with your elbows for a deeper stretch.
- Hold the stretch for 30 seconds.
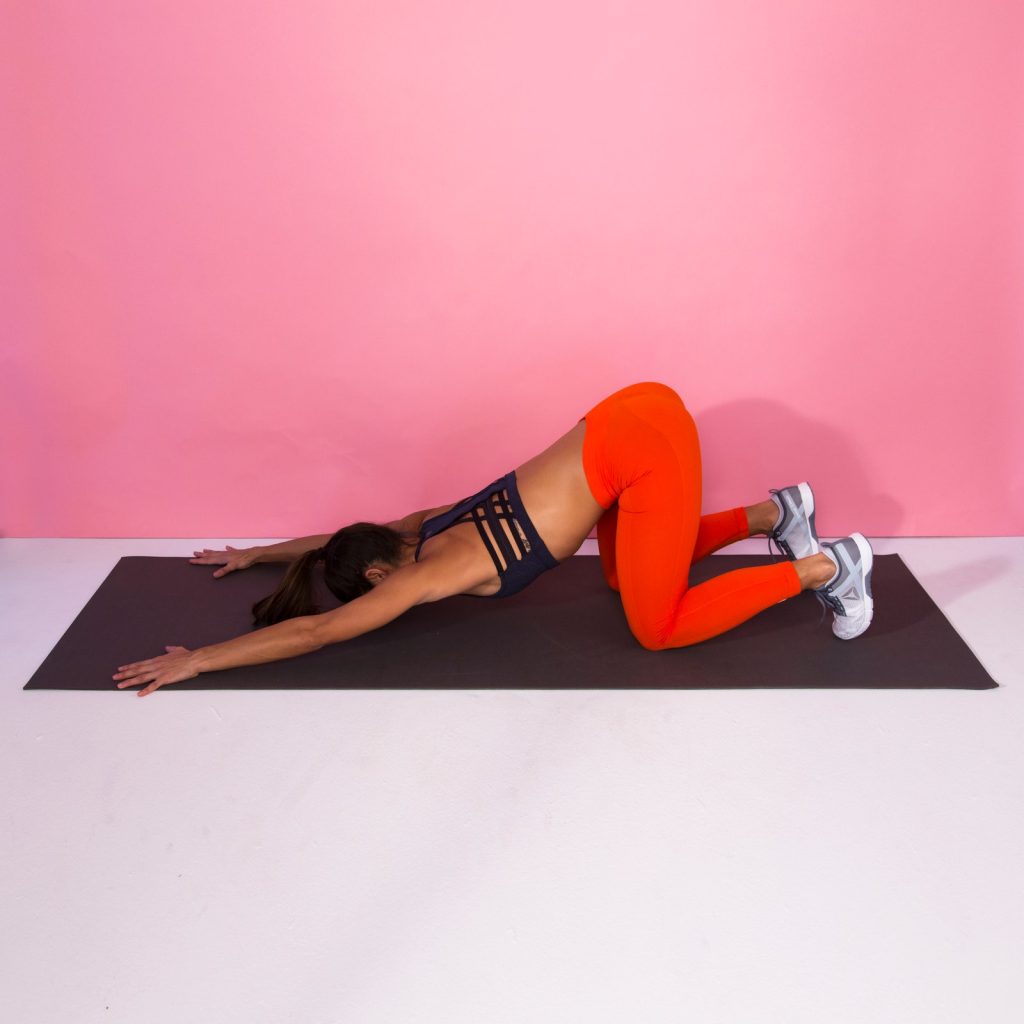
6. Horizontal squat stretch

This stretch can also help loosen your back muscles.
- Begin with your elbows and knees on the floor, and your knees bent at 90 degrees.
- Walk your knees as far apart as you can and lengthen the spine.
- Lower your upper body onto your forearms as you draw your hips back and down.
- Hold for up to 60 seconds.
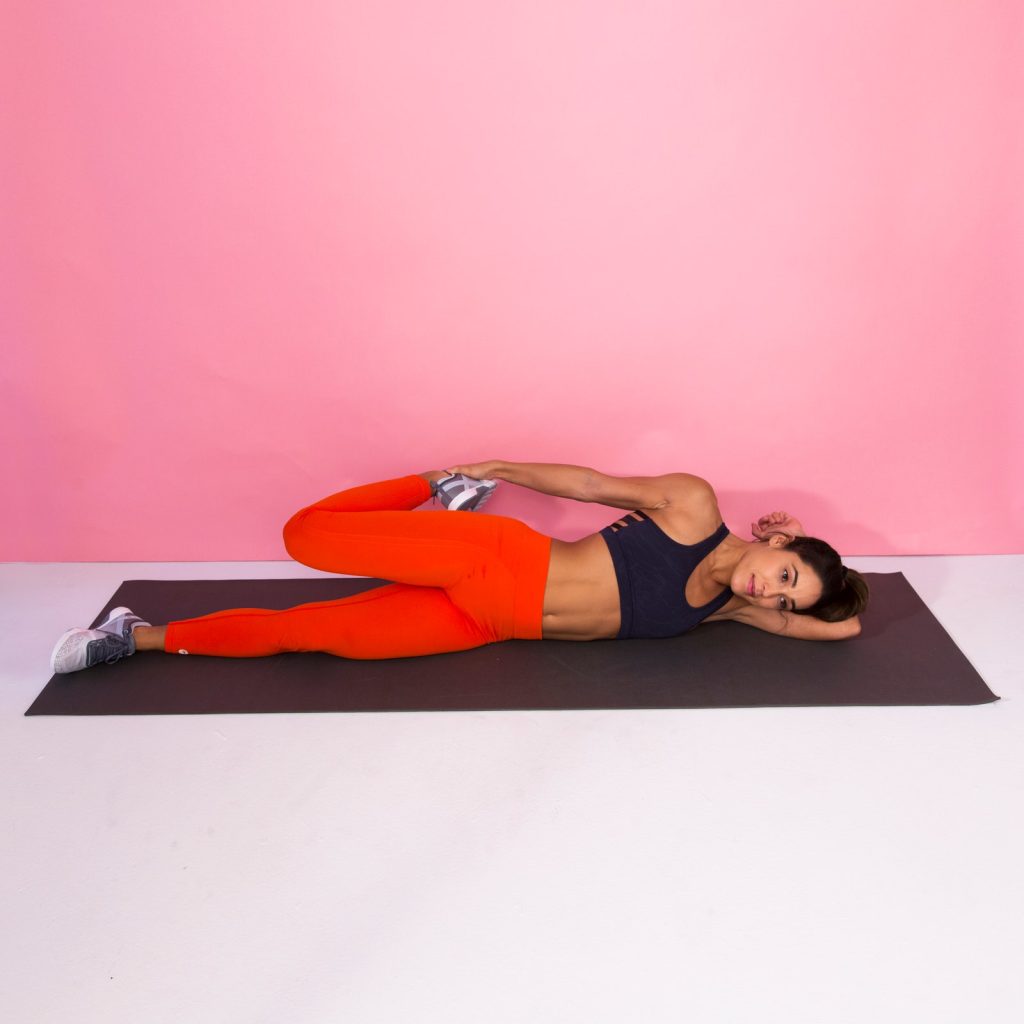
7. Sitting stretch

This is a great stretch to try at your desk if you work in an office. You can also do this one while watching television or riding in a car or on an airplane.
- Sit on a chair with your back straight.
- Place your right ankle on your left knee.
- Fold your torso forward until you feel a gentle stretch.
- Hold for up to 60 seconds.
- Repeat on the other side.
Interested in more blog posts about stretching? Check out “How to Improve your Posture” and “10 Stretches to Help Keep your Body Healthy”
How to stay fit and stay fresh for the Summer
Some references from Health.com authors note: Hi Breathe Blog subscribers! Thank you for your patience on awaiting a new blog while I navigate my way through motherhood. I have a now two-month old son who has been taking up all of my attention. I am so grateful and happy to be experiencing this new season…
How to stretch your tight hips!
Resources from healthline.com Many people have tight hips, from people who spend several hours a day sitting to regular gym-goers and professional athletes. Some people are more prone to tightness in that area of their body, too. Tight hips may put you at increased risk for injury due to the increased demands on tissues that…
10 Breathing Exercises to help reduce stress
Resources from Healthline.com Take a deep breath in. Now let it out. You may notice a difference in how you feel already. Your breath is a powerful tool to ease stress and make you feel less anxious. Some simple breathing exercises can make a big difference if you make them part of your regular routine. How to…